How to Repot Indoor Houseplants

Introduction
La Venezia Art & Fashion presents a comprehensive guide on how to repot indoor houseplants. Repotting your plants is an essential part of their care routine, ensuring their healthy growth and longevity. In this article, we will discuss the importance of repotting, when to repot, the tools needed, step-by-step instructions, and helpful tips to make the process easier for both novice and experienced plant enthusiasts.
The Importance of Repotting
Repotting your indoor houseplants is crucial for their well-being. Over time, plants outgrow their containers, depleting the nutrients in the soil and restricting root growth. Repotting provides the necessary space for roots to expand, allowing plants to access new nutrients and maintain a healthy root system. Additionally, repotting allows for a fresh start, removing any pests, diseases, or fungal growth that may have accumulated in the old soil.
When to Repot
Knowing when to repot your indoor houseplants is essential. Here are some signs that indicate it's time for a repot:
- Root Bound: If you notice roots growing out of the drainage holes or circling around the bottom of the pot, it's a clear indication that your plant needs a larger container.
- Stunted Growth: If your plant's growth has slowed down, despite adequate watering and lighting conditions, it may be due to the lack of space in its current pot.
- Drying Out Quickly: If the soil in your plant's pot dries out quickly after watering, it may be an indication that the roots have taken up most of the available space, and it's time for a repot.
- Poor Drainage: If water sits on the surface of the soil for an extended period or drains too quickly, your plant may require a larger pot with proper drainage.
Tools Needed for Repotting
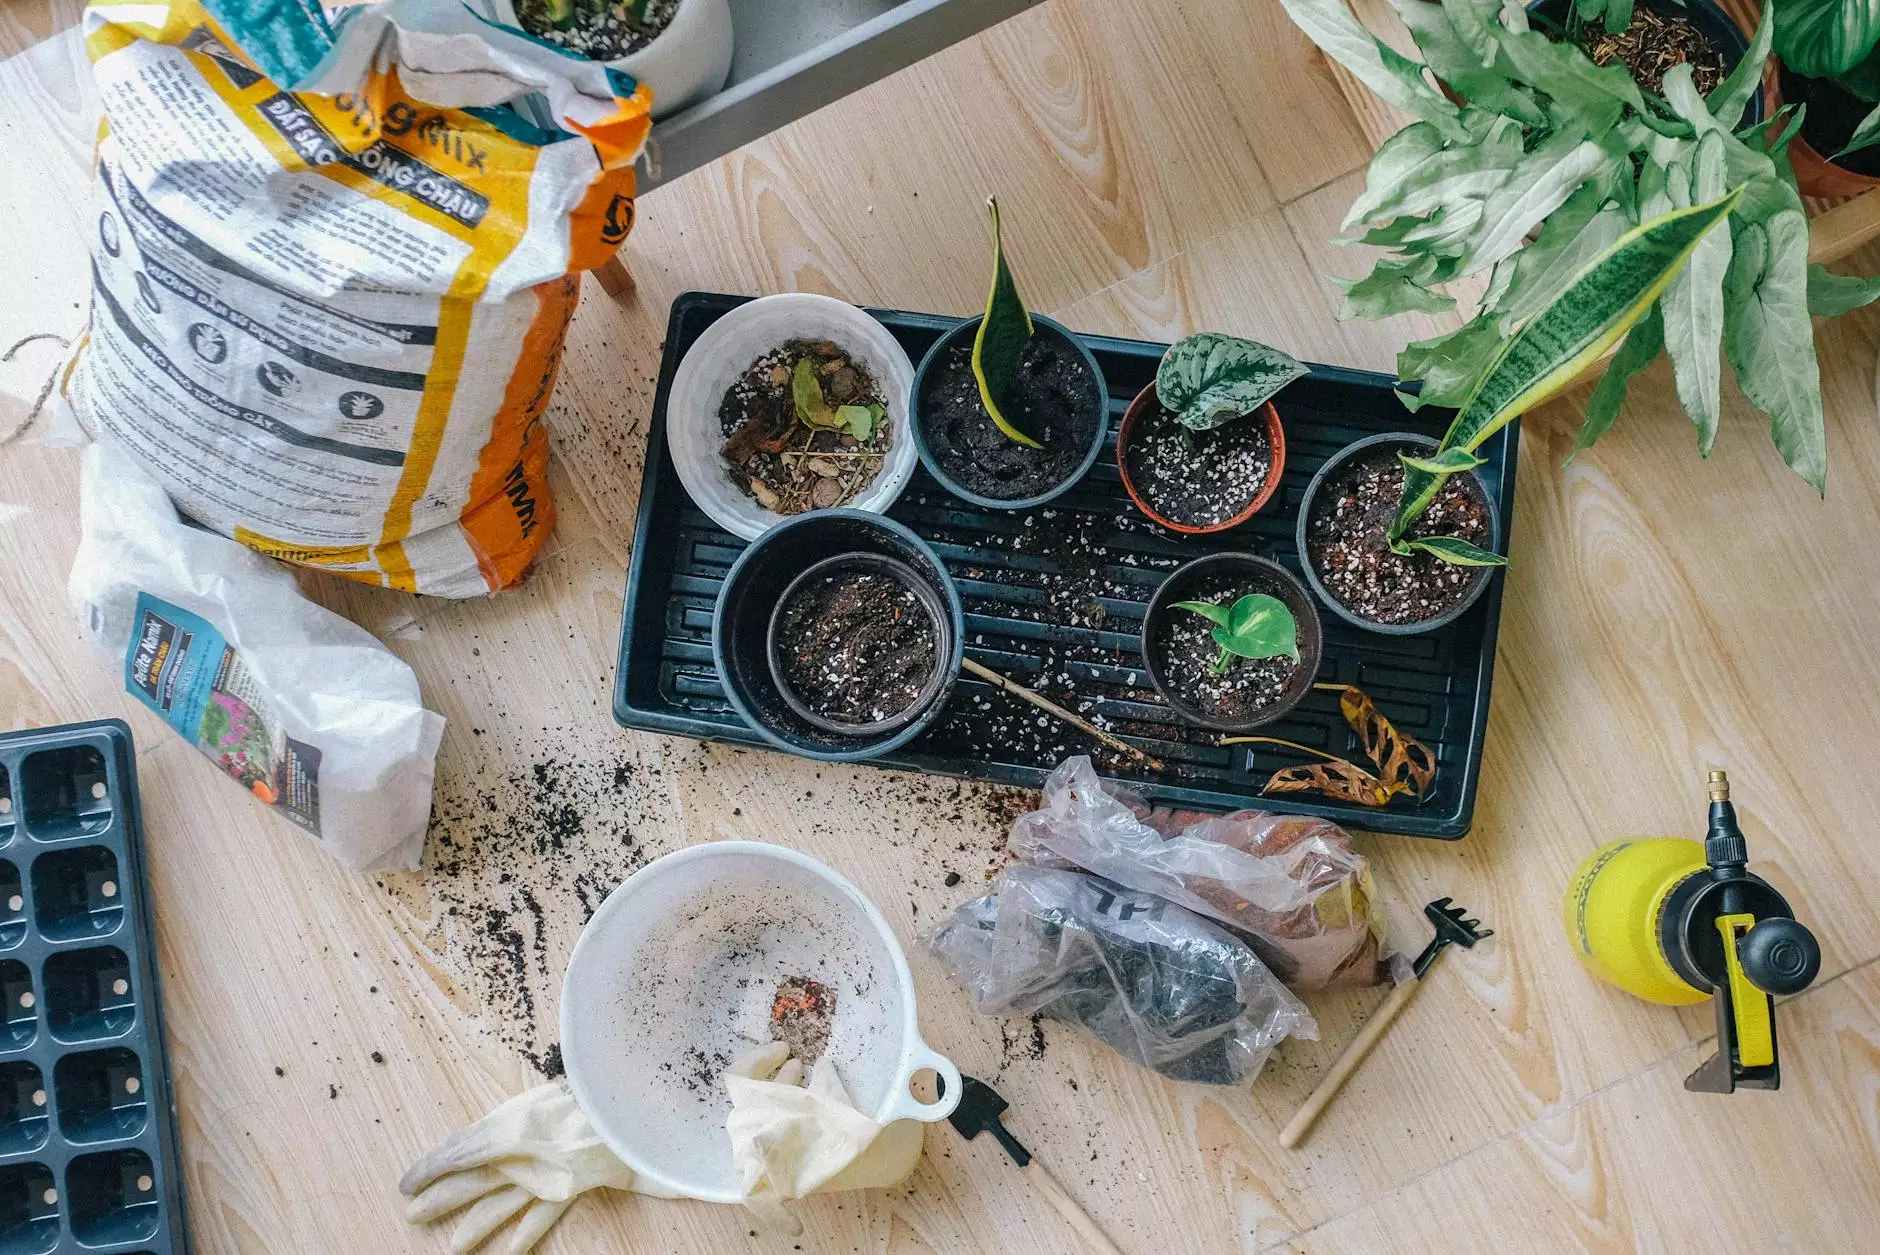
Before we dive into the repotting process, it's essential to gather the necessary tools:
- Pots: Select a new pot that is one or two sizes larger than the current pot. Ensure it has drainage holes at the bottom to prevent waterlogging.
- Soil: Choose a high-quality houseplant potting mix that provides proper drainage and holds moisture while allowing roots to breathe.
- Trowel or Garden Fork: Use a trowel or garden fork to carefully remove the plant from its current pot.
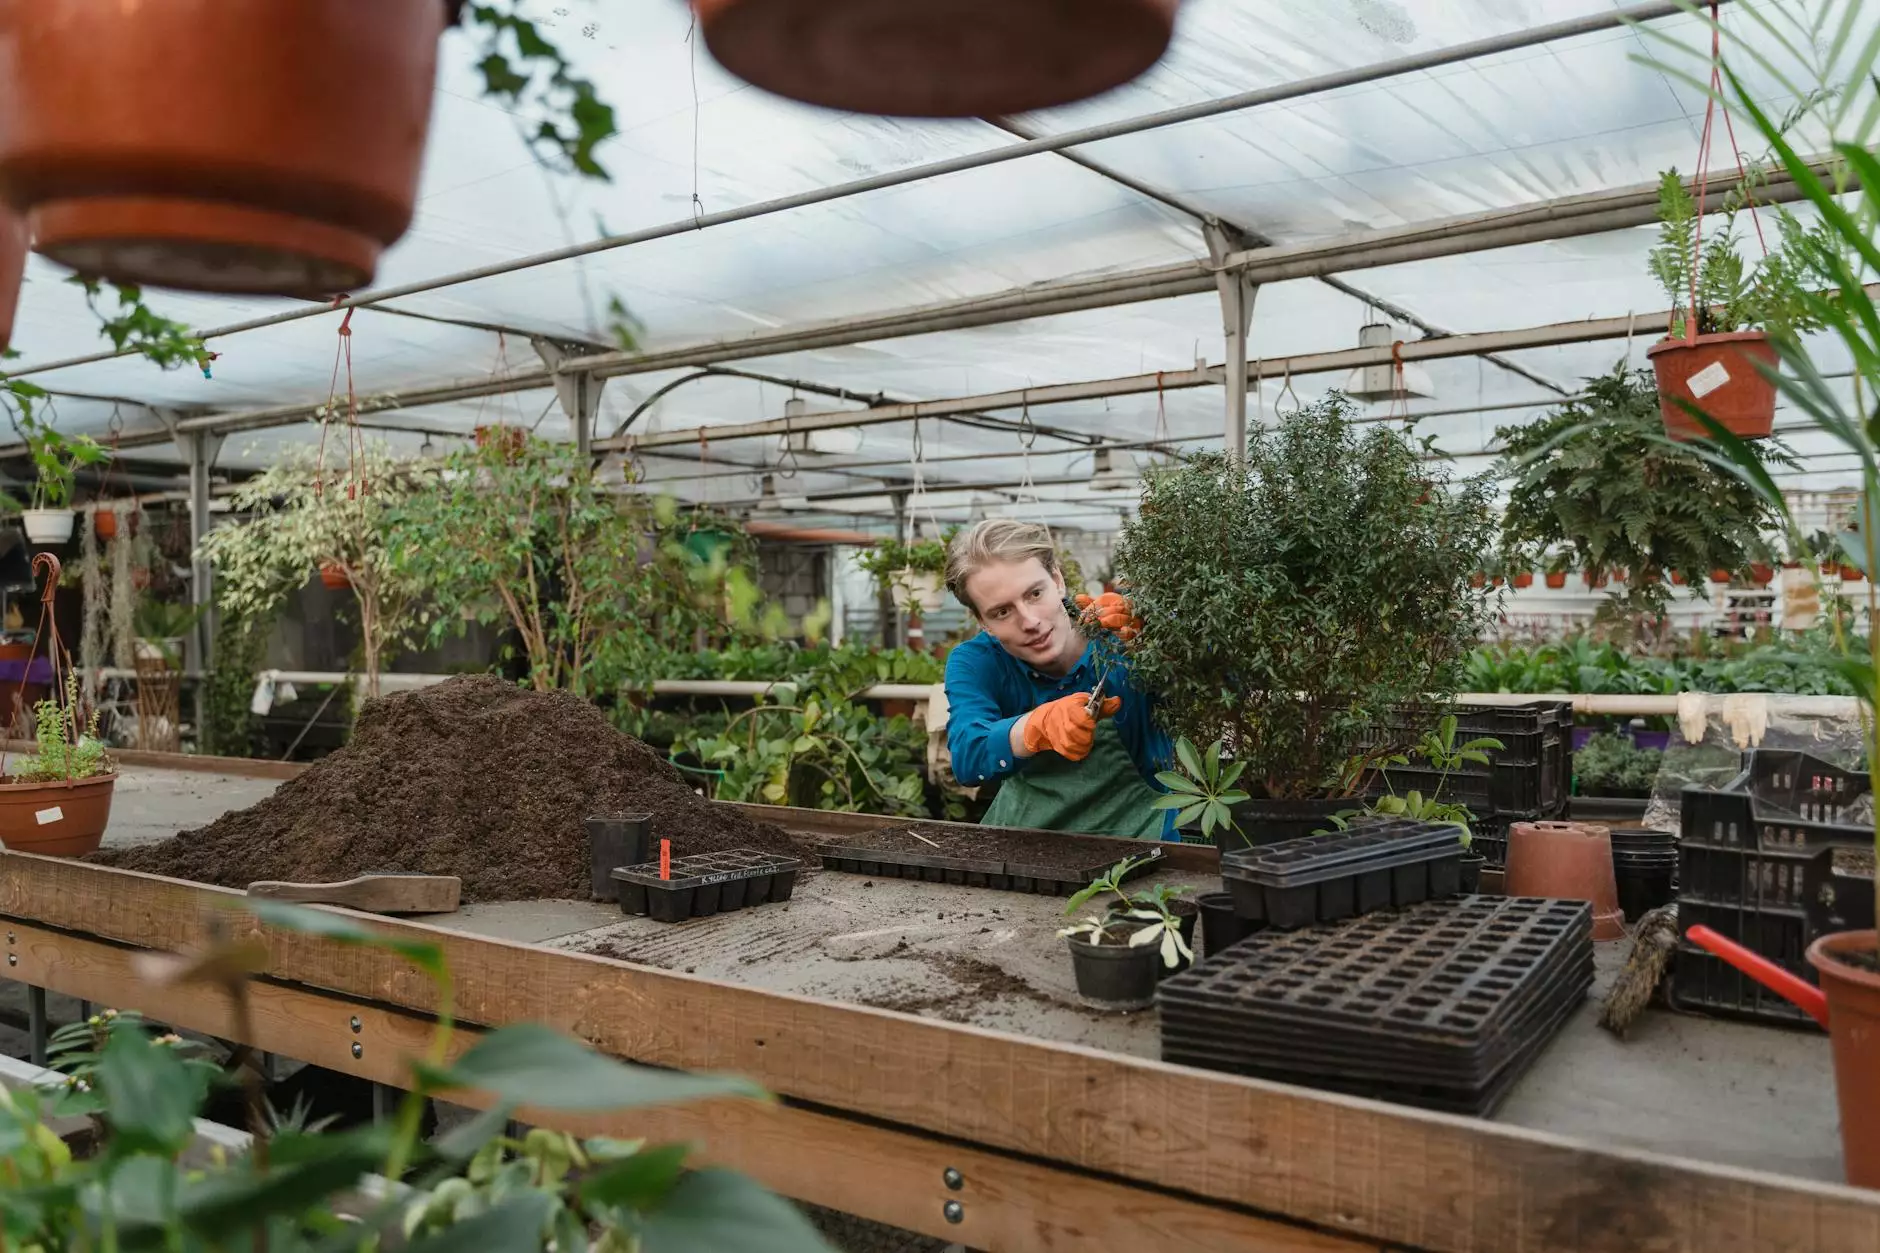
- Pruning Shears: Pruning shears will come in handy for trimming roots, removing dead foliage, or cutting back any overgrown parts of the plant.
- Watering Can: Prepare a watering can filled with water to hydrate the plant once it's been repotted.
Step-by-Step Instructions
Step 1: Prepare the New Pot
Start by cleaning the new pot to remove any dirt or residue. Place a layer of fresh potting mix at the bottom, ensuring it covers the drainage holes.
Step 2: Remove the Plant from its Current Pot
Gently tap and loosen the sides of the pot to ease the plant out. If it's stuck, use a trowel or garden fork to carefully pry the plant out, taking care not to damage the roots.
Step 3: Inspect and Trim the Roots
Examine the root system for any circling roots or signs of disease. Trim any damaged or excessively long roots using pruning shears to encourage healthy growth.
Step 4: Place the Plant in the New Pot
Position the plant in the center of the new pot, ensuring it sits at the same depth as before. Fill the gaps around the plant with fresh potting mix, gently pressing it down to secure the plant in place.
Step 5: Water and Adjust
After repotting, thoroughly water the plant to settle the soil and eliminate any air pockets. Check the plant's positioning and adjust if necessary.
Step 6: Aftercare
Place the repotted plant in a suitable location with the right lighting and humidity for its specific needs. Monitor its progress closely, ensuring adequate watering, and gradually resume fertilizing if desired.
Helpful Tips
Here are some additional tips to make the repotting process easier:
- Choose the Right Time: Most plants prefer to be repotted during the spring or early summer when they are actively growing.
- Handle with Care: Take caution while handling the plant and roots to prevent any damage. Use a gentle touch throughout the repotting process.
- Grow Related Plants Together: If you have multiple plants of the same species, consider repotting them together in a larger container to create a stunning display.
- Observe for Signs of Stress: After repotting, closely monitor the plant for signs of stress, such as wilting or yellowing leaves. Adjust watering and lighting accordingly.
- Gradually Introduce Fertilizer: Wait a few weeks after repotting before starting to fertilize your plant to give its roots time to settle and adjust.
Conclusion
Repotting indoor houseplants is an essential aspect of plant care that promotes healthy growth and overall well-being. With the expert tips and step-by-step instructions provided by La Venezia Art & Fashion, you can confidently repot your houseplants and ensure their thriving existence. Remember to observe the signs, gather the tools, and follow the outlined process, and your plants will thank you with lush foliage and vibrant blooms. Happy repotting!


